If you struggle with anxiety, you know better than anyone that a cluttered home can cause intense stress, anxiety, and depression. Don’t let that discourage you, because the opposite is also true. If you take charge of your home and create an order for the chaos, it could be one of the most cathartic experiences of your life. How often do we get anxious about situations we can’t do anything about? In this case, it can be a huge relief just to be able to do something about it.
The biggest key to creating a new pattern in your home is to tackle one room at a time. If you try to go after the whole place all at once, you will burn out before you get very far. You have to be able to take one small step at a time, and see it through until you walk in the door and it feels like a brand new space!
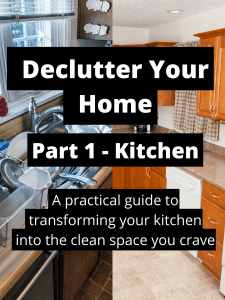
Start with the Kitchen
The kitchen is one of the rooms in your house that should stay tidy as this is where you spend your time cooking and hosting company. In addition to wanting the space to appear clean and orderly, it’s also important to keep in mind that this is where you prepare food for yourself and your loved ones. Clutter is a breeding ground for bugs of all kinds – let’s make this into a space they DO NOT want to be.
(Note: At Simply Maid to Help, we offer a variety of resources to support anyone taking on a home decluttering project, including personal coaching, downloadable checklists, video tips and tricks, our podcast, and more.)
It can be tough to know where to begin, (especially if it’s been awhile since you cleaned your kitchen), so I will share with you some of my best tips. (I know what I’m talking about. I’ve been decluttering, cleaning, and organizing homes – in their worst states – for 30 years).
Tip #1: You Don’t Need Endless Spares
If you’re in the habit of saving extras “just in case” you need them later, I know this tip may be hard to hear. Habits are hard to break, but if they are contributing to a disaster in your home, they need to be broken. Not sure if this is you? Ask someone who knows and loves you. The only thing that can stop you from creating new, better habits is if you don’t acknowledge the old ones which are contributing to the clutter.
Flash tip! Create the mental state you need before you even set foot in your kitchen. Find a journal or scrapbook that appeals to you. At the top of one page, write the word “CLUTTER” in big, bold letters. Underneath, list out behaviors that are contributing to the clutter. For example, you could write:
- Saving extras
- Putting off washing the dishes
- Buying more food than we will use
- Etc. (Be as thorough as possible! Writing down old habits will actually begin to change thought patterns in your brain. Every action begins as a thought. When we begin to change our thoughts, our actions naturally begin to fall in line!) Leave a small space at the bottom (we’ll come back to this).
On another page, write in big, beautiful letters, “FRESH START.” Underneath, write small, reasonable goals you will begin to work towards today. Here are some great examples:
- Take out the trash as soon as the bag is full (not an hour later, not the next day, RIGHT AWAY)
- Wash the counter after preparing meals
- Put an encouraging note to self on the windowsill in front of the sink so I will see it daily
- Ask for help from _____________________ (someone who loves me)
- Label plastic totes for organizing the pantry
- Etc. Have fun with this! Fresh starts are incredibly rewarding when you stick with them. Make sure you have a plan that will boost your spirits every time you complete a goal)
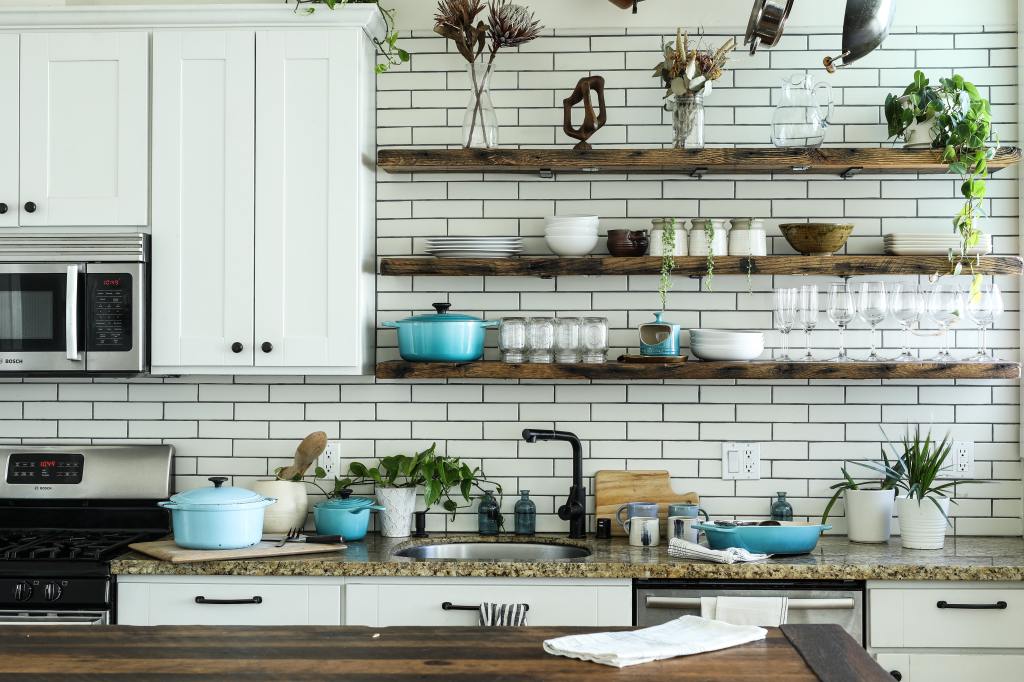
Tip #2: Store Food Visibly
Begin with the cabinets. You won’t be able to begin organizing your food until you’ve gotten rid of the things you don’t need. These are just taking up space and adding to the clutter. The fewer items you have to organize, the cleaner your space will be. A great place to start is by getting rid of all of the extra mugs, plates, cups, forks and spoons you don’t need. Then begin working through food items. Ask yourself, “Will we use this within the next week or two?” Many of us have enough to feed everyone on our block, when in reality you are only a family of five.
One of the key things to remember is that you want to arrange foods in your cabinets and pantry so that you can visibly see them. All of them. This way you won’t purchase products you already have. This is where storing foods in labeled totes comes in handy. You should be able to open those cabinet/pantry doors and see everything labeled clearly, in large letters.
Flash tip! When making your grocery list, check your pantry to make sure you don’t already have an item on hand. This may feel like an annoying thing to do when you just want to get the grocery errand over with, but once you get into the habit, you’ll be saving yourself time in the long run. Purging items you don’t need is a task you shouldn’t need to do more than once or twice a year. Ever hear the old saying, an ounce of prevention is worth a pound of cure?
All of this will help you save money, time, and effort in the long run. It also reduces food waste. It’s worth it, I promise!
Tip #3: Create a Tray for Frequently Used Items
When it comes to your counters, many people store everything on their kitchen countertops so everything is easy to reach. Think about it. This creates endless counter clutter and looks disorganized.
My rule of thumb is to get a small tray where you can store your oil, salt, pepper, and other frequently used items so they are all in one place. You can also use a knife block to store the commonly used cooking utensils you may need. All food items should be kept in the pantry and cabinets, whenever they are not in use. It’s so important to turn this into a habit, not just for yourself, but also your children. Once it’s a habit, you won’t even think twice before putting items away after cooking a meal. It will be easy, and rewarding.
Flash tip! If you don’t have a lot of counter space to begin with and you really want to eliminate anything extra on the counter you can also get floating shelves or some other sort of wall mounted display. These can add some style to your kitchen, and will not look disorganized.
If you finish all the above steps and your counters still look “busy” with clutter, you can take a further step by storing away all of your bigger appliances, such as your air fryer, Kitchenaid, or blender, and only leave small appliances on your counters, such as your coffee maker.
Tip #4: Eliminate the Junk Drawer
If you struggle to organize your kitchen drawers it’s more than likely you have what’s known as a ‘junk drawer’. These junk drawers are typically filled with a random assortment of things like ketchup packets, takeout menus and plastic cutlery we got in our carry out orders, but do we really need to keep these things?
Breaking news: Junk, is exactly that. Junk. Unnecessary, very unlikely to ever be used, junk.
We’ve all been there. You find a random item in your house, can’t remember what it goes with, and say to yourself “Eh, I’ll use this someday, let’s stash it in the junk drawer for now.” I would bet if we took an inventory of how long it takes to actually use even one of the items in that drawer, we would be much more likely to toss the entire contents and free up that space.
Your kitchen drawers should each have a specific purpose. They are designed to be used for storing cooking utensils, measuring cups, and cutlery. If you want to add an extra helpful touch, use a label maker to create simple labels for each drawer. This will also help keep the rest of your family on track.
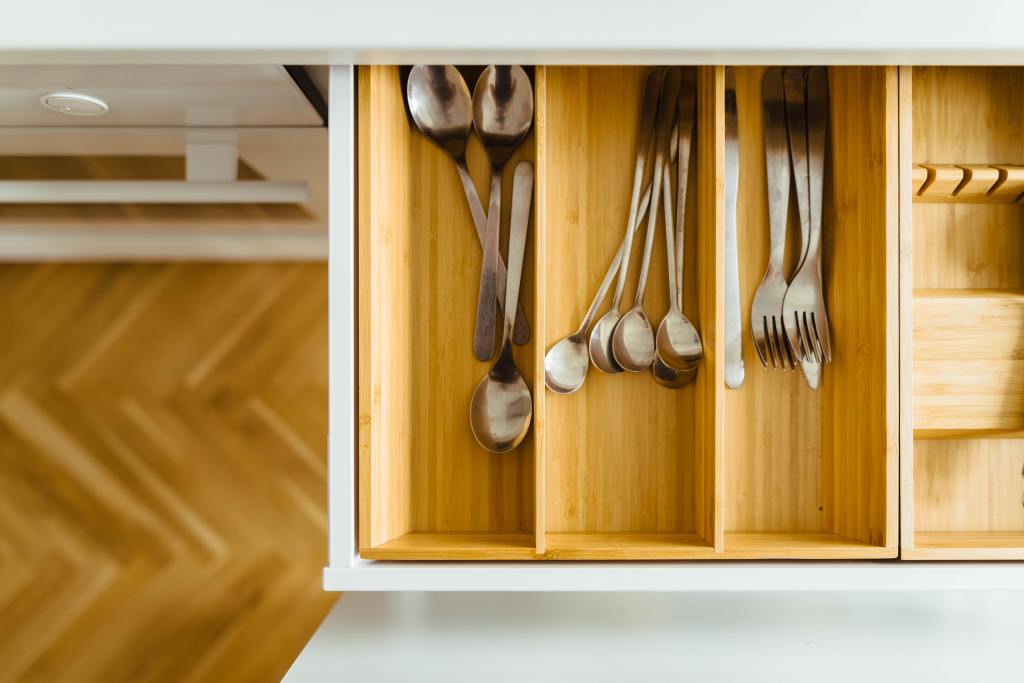
One of my favorite things to do is use drawer dividers in the bigger drawers to separate different utensils. Spoons, forks, knives, etc. each should have their own section.
Flash tip! Do you have small kiddos? Using drawer separation is a great way to teach youngsters to sort items and give them a meaningful task to help the family. You can have them unload the silverware from the dishwasher, and sort each item into it’s section of the silverware drawer.
If you’re looking to organize your kitchen on a budget, consider checking out the dollar tree for useful organization products.
Final step: Maintain Order
By using the above steps, you are well on your way to a brand new, organized kitchen. You will love the simplicity and how clean the space is. Take some before an after photos to continue to motivate yourself as you maintain this order. Many people accomplish a big task, but lose the motivation to maintain the change. Can I tell you a secret? Motivation is a fickle, unpredictable thing to rely on. You will never be motivated 100% of the time. That’s why the biggest key to long term success is habit change. You simply have to make the choice, every day, until it becomes your habit. The first couple of weeks are the hardest, but I promise that with time, these better habits will be easier than your old ones. You have to make the choice, every day. And make the choice again even after you’ve had a bad day. We all mess up. We all fail. But I would argue these “failures” are simply a launching point to create even better change.
You can do this.
(Please follow our blog and stay tuned for the rest of this series, as we show you how to declutter every room in the house for a complete home makeover!)


Leave a comment